Hi,
It is been awhile after the last post in Putrajaya. Today, I challenge to shoot some so called "old type" or "black and white" photos, we called it Monochrome. As I remember, I did mentioned about I like black and white photos than colour photos.
It is also difficult to shoot in Monochrome because there is only two colours, you need to be careful or you will not get the "distance" of the subject and the background.

And Monochrome photos are very difficult in movement because the result might just blur and you do not feel any "speed" on it. Our eye just cannot judge it while we already used to colourful photos.

The same case appear while the ball is spinning. I would say if you really insist in capture a moving subject in Monochrome, I suggest you find a subject which is dark in colour such as black, dark blue, dark red and etc. Sorry I am not good in the name of colour :P Well, as you can see, the spinning ball is actually in yellow colour and you can slightly see it is spinning because the ball has a number in black colour. Therefore you see some reflection and "see" it is spinning :)

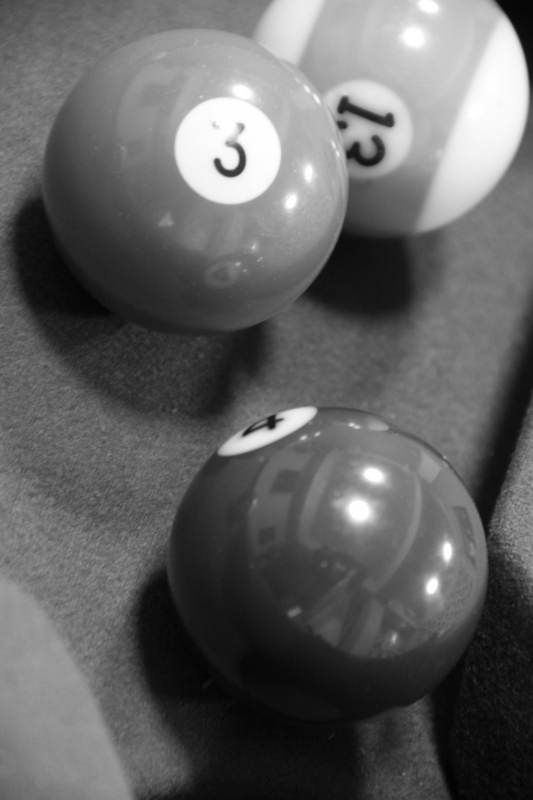
It is better to remain "still" subjects and maximize the Aperture by lower the f-number. Guess what, you can see the distance of the subjects now. :)

If that cannot satisfy you, you can try to capture the nearest background of the subjects. As you can see, the photo below was included the border of the table, it gave more "distance" and you can feel the photo "live".

There is another way to capture the "distance" if you find maximizing the Aperture does not work. The reason you lower your f-number does not work might because your f-number not small enough, or cannot be smaller. Well, all you need to do is zoom in to the subjects, and of course using the smallest f-number as well.

Also, in case you got enough exposure (some shops have not enough lighting), you need to use a higher ISO to get your desire exposure. But beware, higher ISO might capture noises and spoil your photo.

Choosing a correct angle is important, well, I cannot teach you on that because I am still working on it as well LOL.

Sometimes, you just need to shoot in different angle in order to gain more "intuition" (I do not use "experience" because I think photography is more on "imagination" instead of just "experience) so you will know how to shoot in different subjects in different angle next time.


Do you want to know more? Please "like" my post ^^


